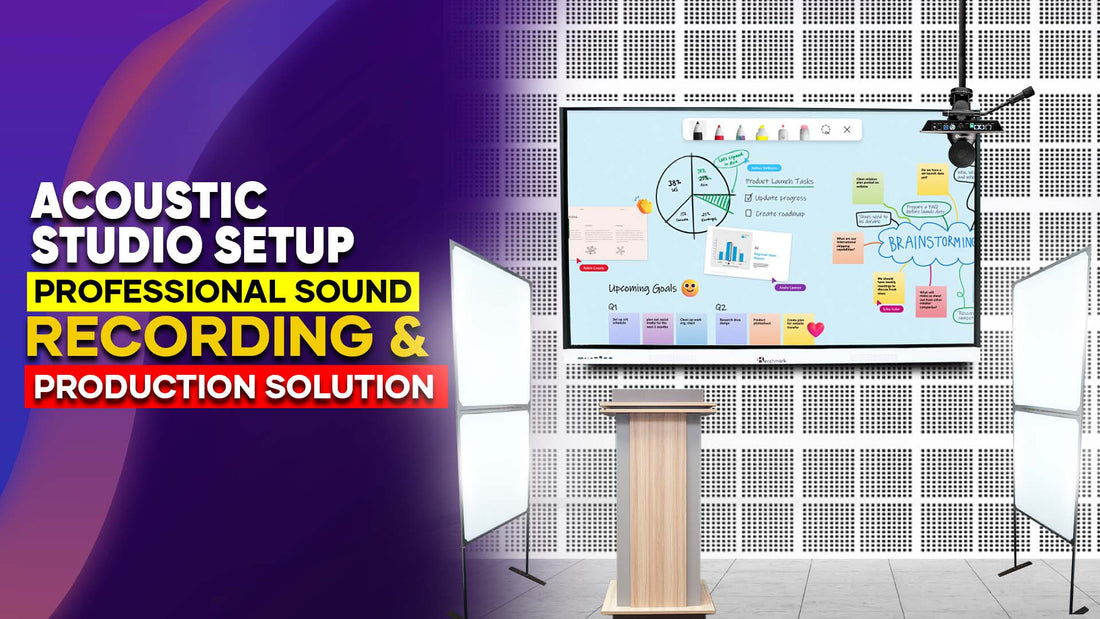
Acoustic Studio Setup: Professional Sound Recording & Production Solution
Introduction
Whether you’re a musician, podcaster, or sound engineer, having a dedicated acoustic studio setup is essential for achieving professional-grade recordings. From crisp vocals to immersive soundscapes, the quality of your recordings depends heavily on how well your studio is designed. In this blog, we’ll dive deep into the elements of an acoustic studio setup, explore tips for optimizing your space, and see why Benchmark is the top choice for setting up professional sound recording studios.
Why an Acoustic Studio Setup is Essential
A well-designed acoustic studio setup transforms any space into a soundproof haven for recording and production. Here’s why it’s critical:
- Eliminates Unwanted Noise: Proper soundproofing ensures external noises don’t interfere with your recordings.
- Enhances Sound Clarity: Acoustic treatments reduce echoes and reverb for cleaner recordings.
- Increases Professionalism: A high-quality recording environment helps produce industry-standard audio.
- Boosts Productivity: A dedicated, distraction-free studio enables you to focus entirely on your creative process.
Also Read:
Core Components of a Professional Acoustic Studio Setup
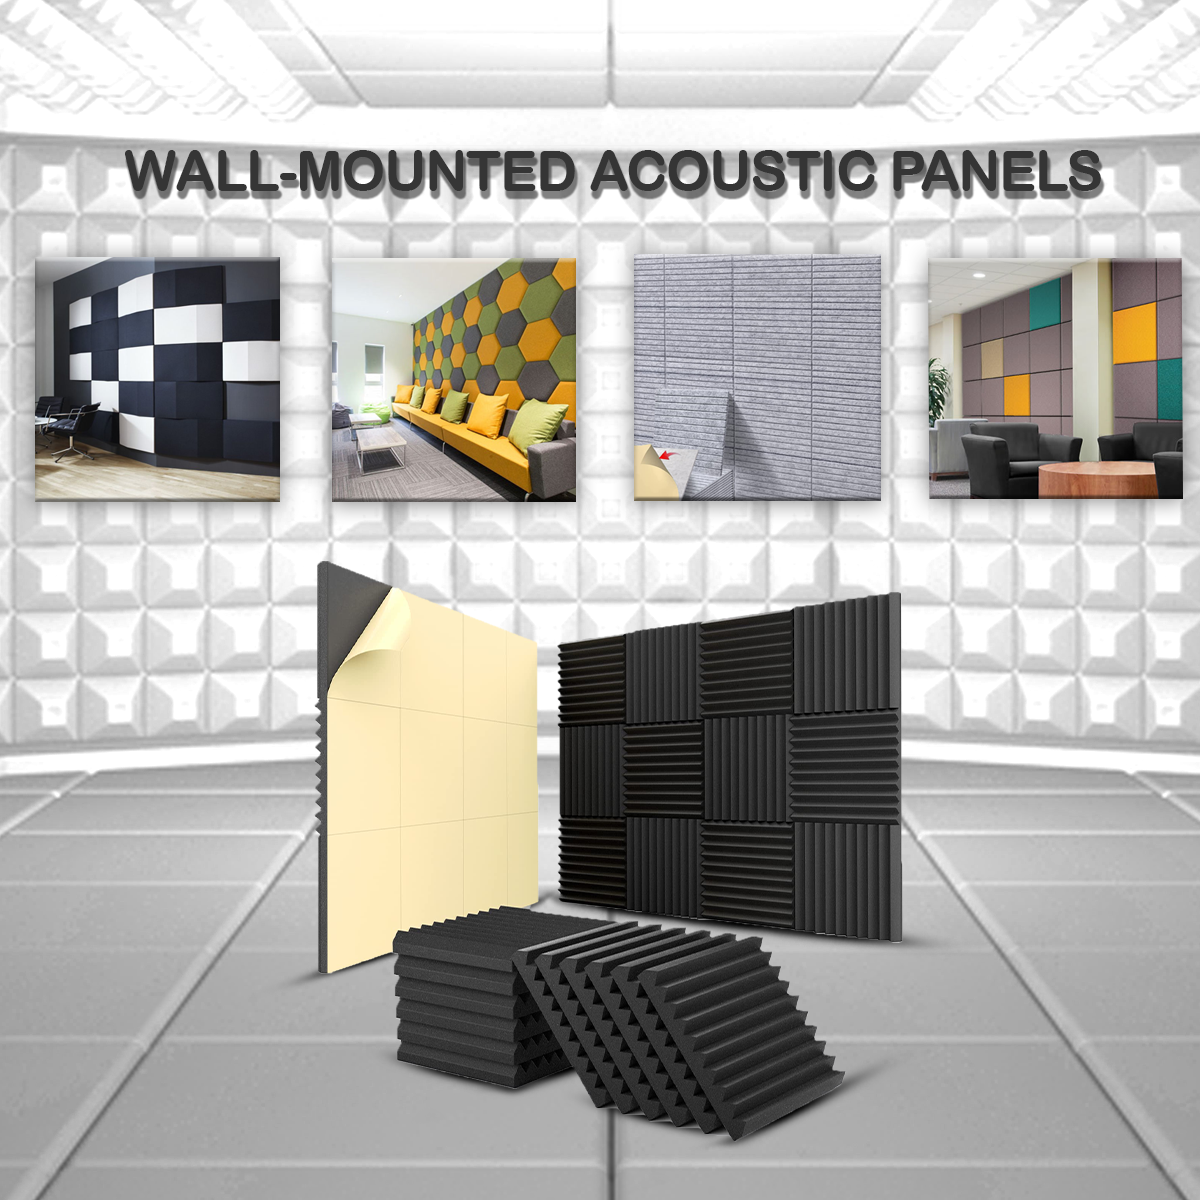
1. Acoustic Treatment
Acoustic treatment involves strategically placing materials to absorb and diffuse sound waves. The key elements include:
- Acoustic Panels: These absorb mid to high-frequency sound waves to reduce echo.
- Bass Traps: Ideal for corners, these absorb low-frequency sounds to prevent muddiness.
- Diffusers: Scatter sound waves evenly to create a balanced listening environment.
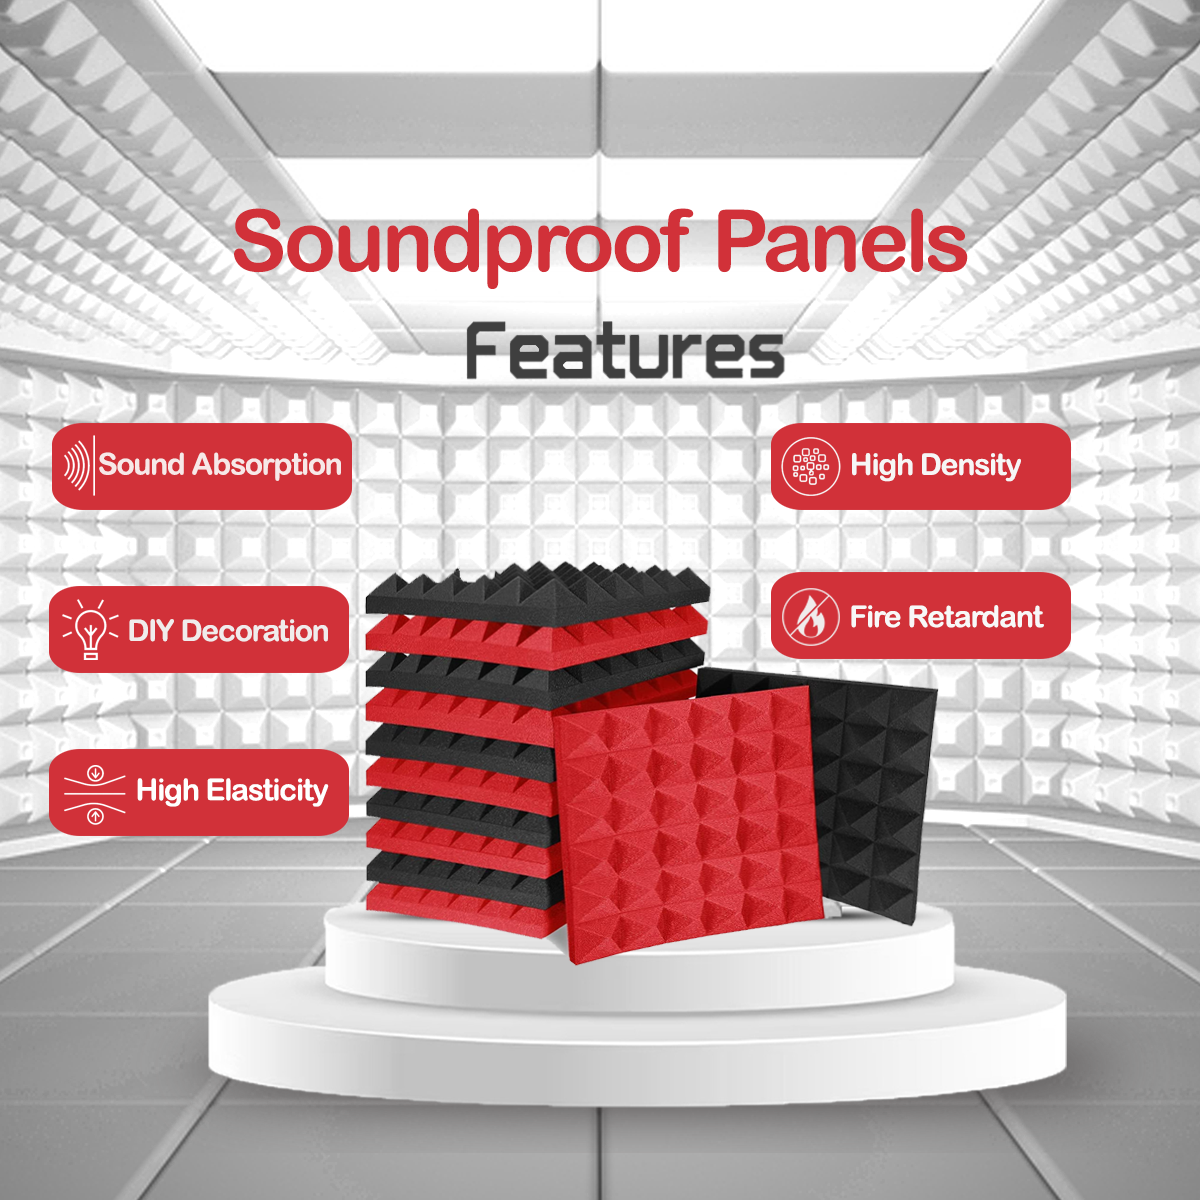
2. Soundproofing
Soundproofing prevents external noise from entering the studio and ensures no sound escapes. Methods include:
- Mass-Loaded Vinyl: Installed on walls for superior sound isolation.
- Weatherstripping: Seals gaps in doors and windows.
- Acoustic Doors and Windows: Designed for maximum noise isolation.
3. Studio Monitors and Speakers
Accurate playback is crucial for sound recording and production. Choose studio monitors with flat frequency response for precise audio representation. Benchmark provides high-quality monitors suited for all studio sizes.
4. Microphones and Accessories
For professional sound recording, invest in microphones tailored to your needs:
- Condenser Microphones: Ideal for vocals and acoustic instruments.
- Dynamic Microphones: Best for louder sound sources like drums and amps.
- Pop Filters: Eliminate plosive sounds in vocal recordings.
- Shock Mounts: Minimize vibrations for cleaner audio.
5. Digital Audio Workstation (DAW)
Your DAW is the software where all your recording and editing happens. Pair your studio with top DAWs like Pro Tools, Logic Pro, or Ableton Live for optimal performance.
6. Audio Interface
An audio interface connects your microphones and instruments to your computer, ensuring high-quality sound input and output. Benchmark offers reliable audio interfaces tailored for professional setups.
7. Cables and Connectivity
High-quality cables ensure uninterrupted and noise-free signal transmission. Look for XLR cables for microphones and TRS cables for monitors.
Steps to Create the Perfect Acoustic Studio Setup
1. Choose the Right Space
Pick a quiet room away from external noise sources. The ideal space should have minimal windows and hard surfaces to reduce sound reflections.
2. Plan Your Acoustic Treatment
Start by addressing the room’s walls, corners, and ceiling:
- Install bass traps in corners.
- Place acoustic panels at reflection points.
- Use diffusers to scatter sound waves.
3. Soundproof the Room
- Add dense materials like soundproof curtains or acoustic foam.
- Seal all gaps with weatherstripping.
- Use rugs or carpets to reduce floor reflections.
4. Position Your Equipment
Proper equipment placement is key for an efficient workflow:
- Place studio monitors at ear level and form an equilateral triangle with your listening position.
- Keep the microphone away from walls to avoid reflections.
5. Optimize Your DAW Setup
Connect your audio interface, microphones, and monitors to your computer. Set up your DAW for optimal performance by adjusting buffer size, sample rate, and input/output settings.
6. Test Your Setup
Conduct test recordings to identify any issues. Adjust your acoustic treatments or soundproofing if needed.
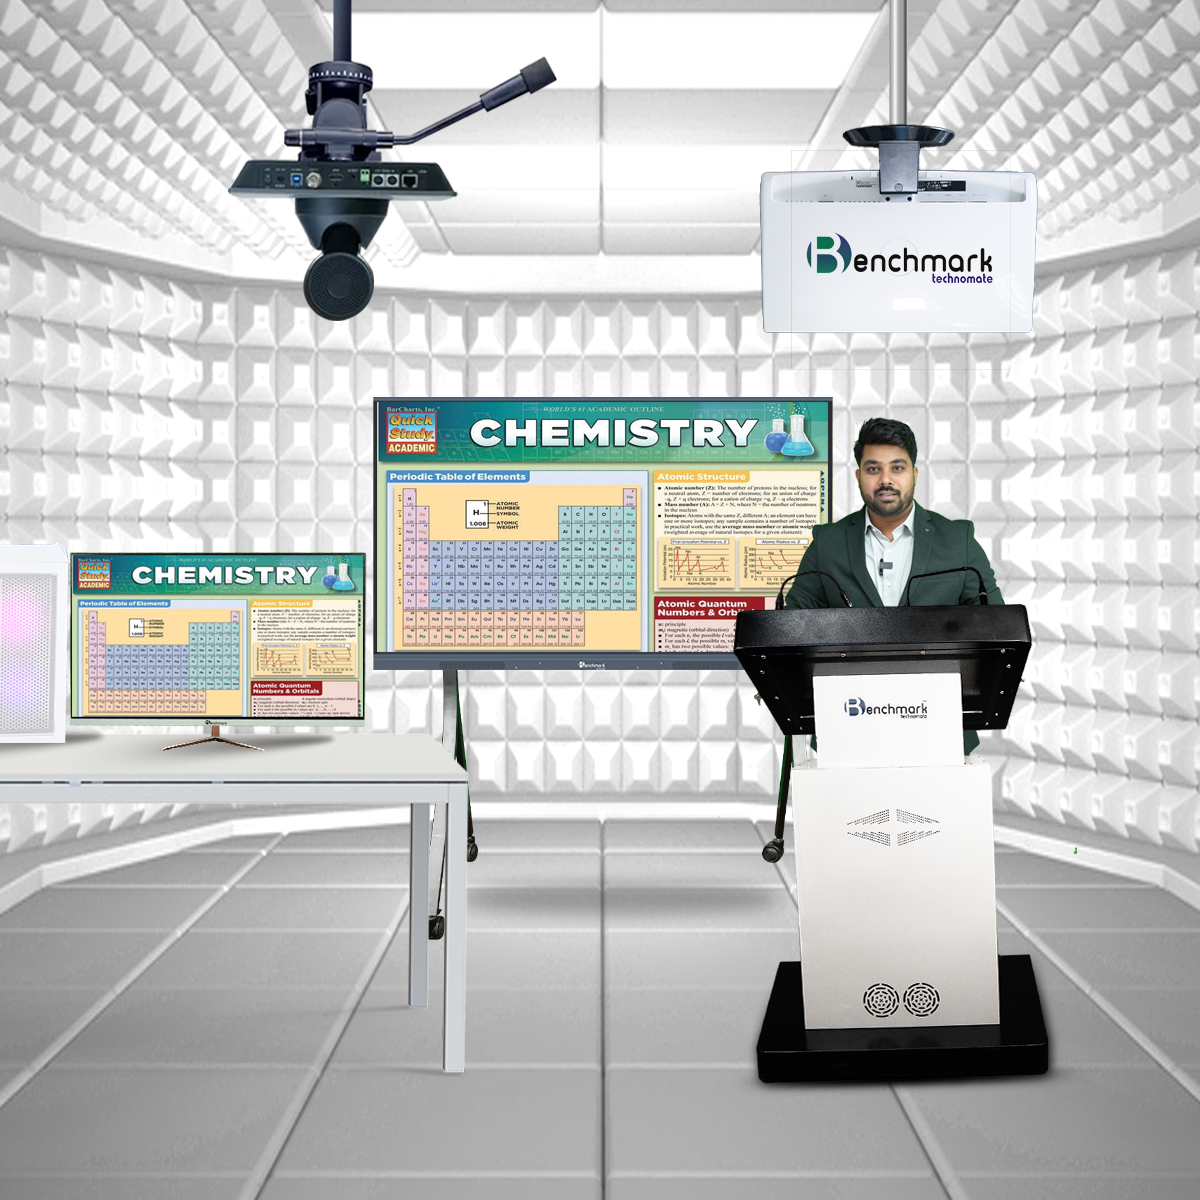
Benchmark: Your Trusted Acoustic Studio Setup Provider
Benchmark is the go-to provider for high-quality acoustic studio setups and professional sound recording solutions. Here’s why they stand out:
- Custom Studio Solutions: Tailored setups for home studios, commercial spaces, and professional-grade studios.
- High-Quality Equipment: From microphones to studio monitors, Benchmark offers top-of-the-line gear.
- Expert Guidance: Get personalized advice for designing and optimizing your acoustic studio.
- Affordable Packages: Premium setups at competitive prices.
- Reliable Support: Benchmark provides seamless installation and after-sales service.
Benefits of a Benchmark Acoustic Studio Setup
- Professional Sound Recording: Achieve industry-standard audio quality.
- Time and Cost Efficiency: Save time with expertly designed solutions tailored to your needs.
- Scalability: Easily upgrade or expand your setup as your needs grow.
- Aesthetic Appeal: Benchmark setups combine functionality with visually appealing designs.
FAQs
What is an acoustic studio setup?
An acoustic studio setup involves soundproofing and acoustic treatment to create an ideal environment for professional sound recording and production.
Who can benefit from an acoustic studio setup?
Musicians, podcasters, sound engineers, voice-over artists, and anyone involved in audio production can benefit from an acoustic studio setup.
How does Benchmark assist with acoustic studio setups?
Benchmark provides customized solutions, professional-grade equipment, and expert guidance to ensure your studio meets industry standards.
What is the difference between soundproofing and acoustic treatment?
Soundproofing prevents external noise from entering or escaping a room, while acoustic treatment improves sound quality within the room by reducing echoes and reflections.
What are the essential components of a professional sound recording studio?
Key components include acoustic treatment, studio monitors, microphones, audio interfaces, and DAW software.
How much does it cost to set up a professional studio with Benchmark?
Costs vary depending on the size and complexity of the setup. Contact Benchmark for a customized quote.
Conclusion
Creating a professional acoustic studio setup is an investment in quality, creativity, and efficiency. From soundproofing to equipment selection, every detail matters when crafting a space for professional sound recording. By choosing Benchmark, you’re ensuring that your studio meets the highest standards of performance and functionality.
Start your journey toward unparalleled sound quality and productivity today with Benchmark’s expert solutions.
Prev post

Digital Boards Installed in Muzaffarpur, Bihar
Updated on 24 March 2025
Next post

Pentab Studio Setup: Enhance Teaching and Creative Presentations
Updated on 29 January 2025


